How to connect to another computer?
 Connecting to a client's remote desktop allows you to quickly provide them with technical assistance. There are several ways to remotely connect to another computer.
Quick support
For a one-time connection to another user (let's call them a "client"), register on the site. In your personal account, go to the "Quick support" section and invite a client.
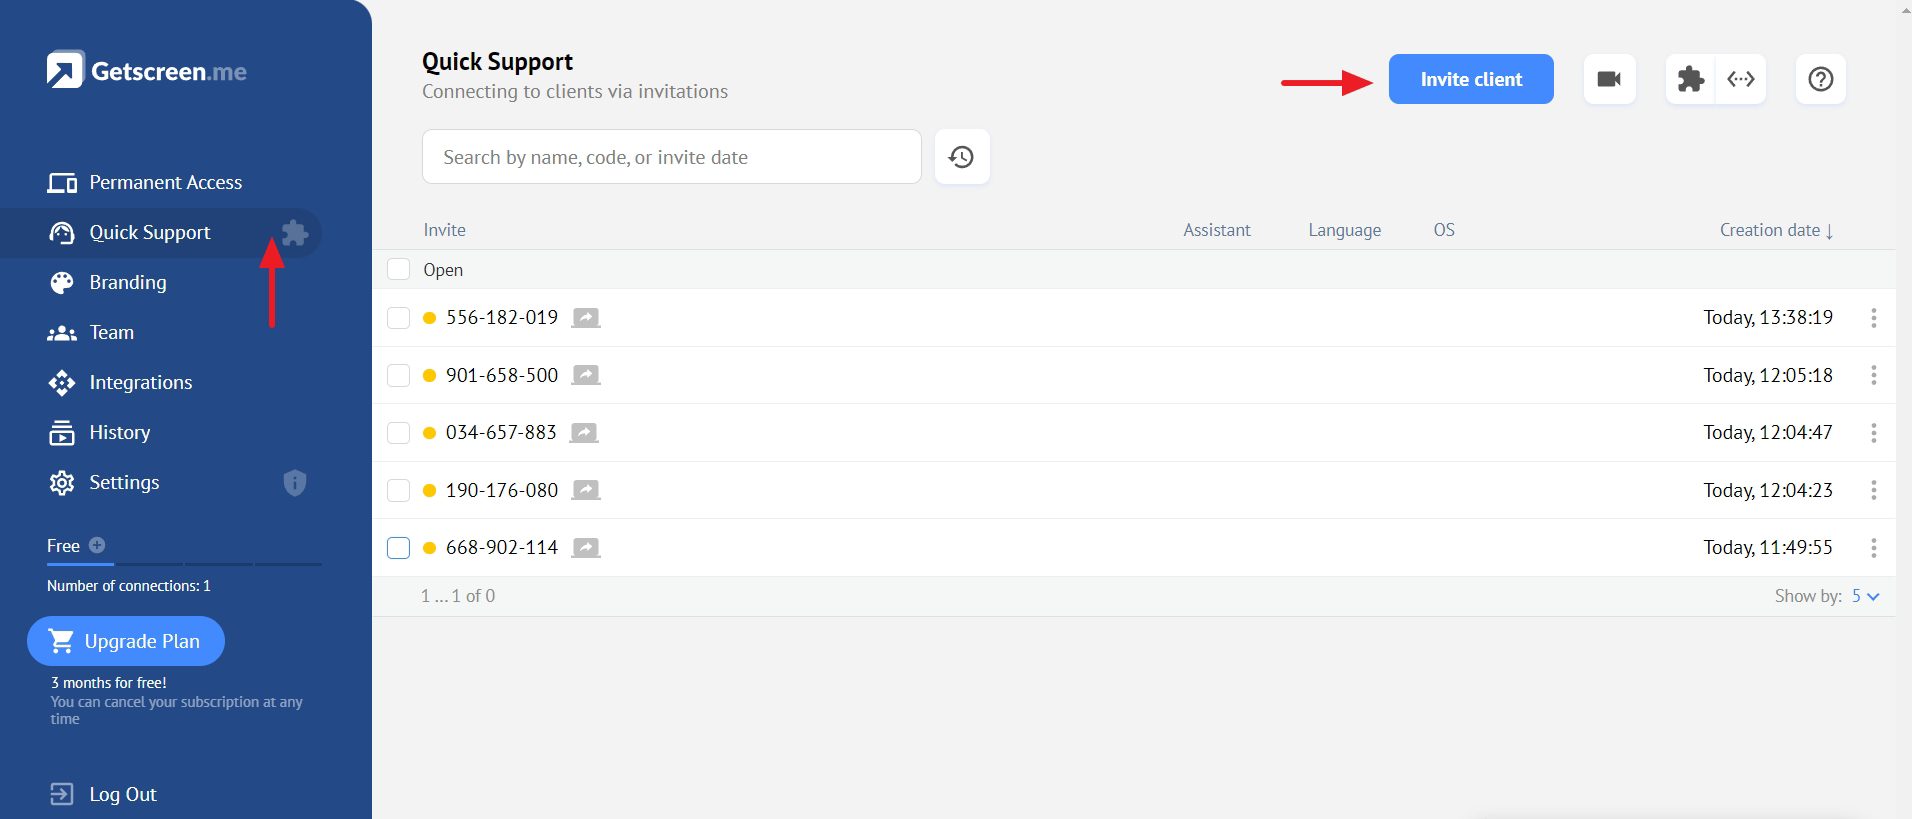
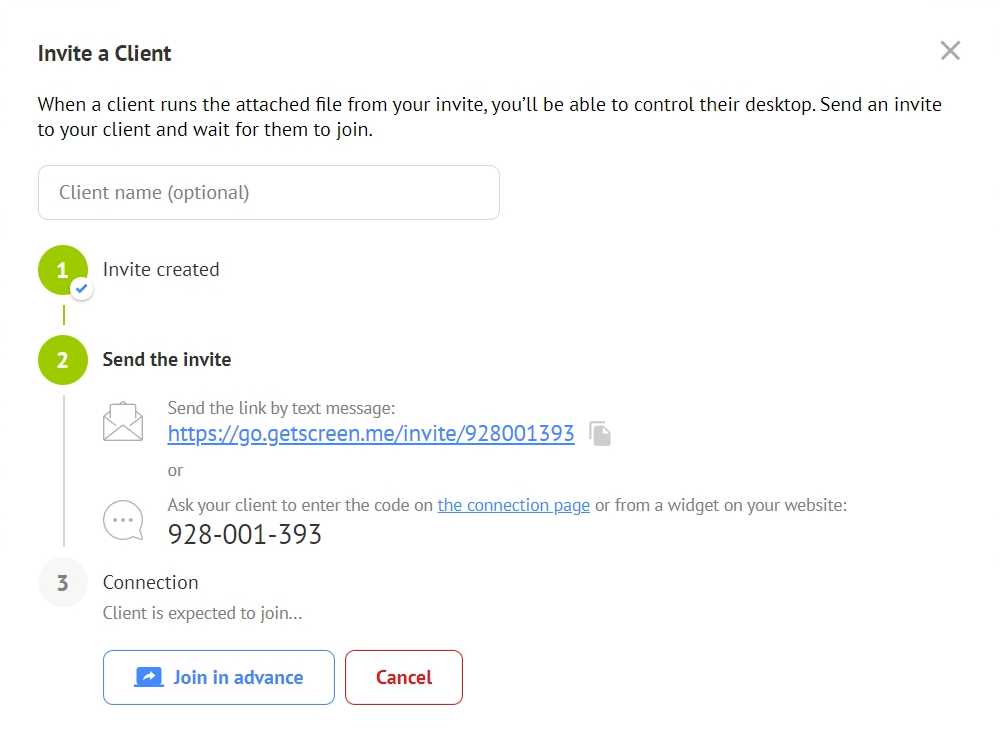
You can indicate the client name and choose a convenient transfer method in the invitation.
Invitation via link
Send the link you received to the client you want to connect to. After clicking on it, they will get a notification that you are inviting them to establish a remote access session.
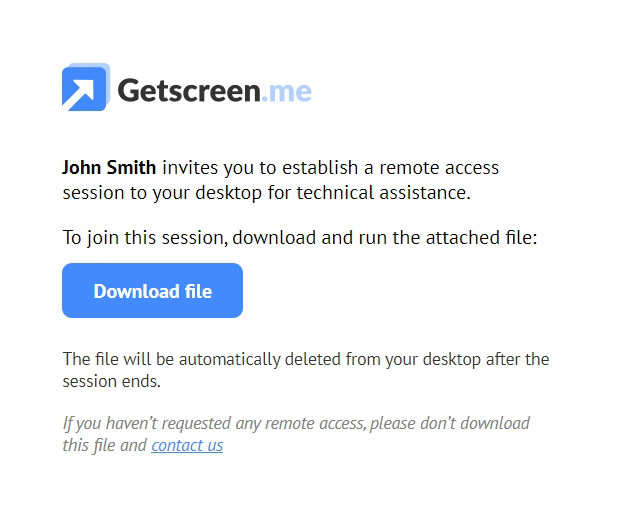
Specify your name in the profile so that the invited user can see who is connecting to them. This will increase loyalty and trust on their part.
To join the session, the client needs to download and run the file attached to the message. After that, the remote access session starts automatically.
The client will see a data window with the session control:

Waiting for client
While the client accepts the invitation, you can connect to their computer in advance. The connection is performed automatically when the client launches the file.
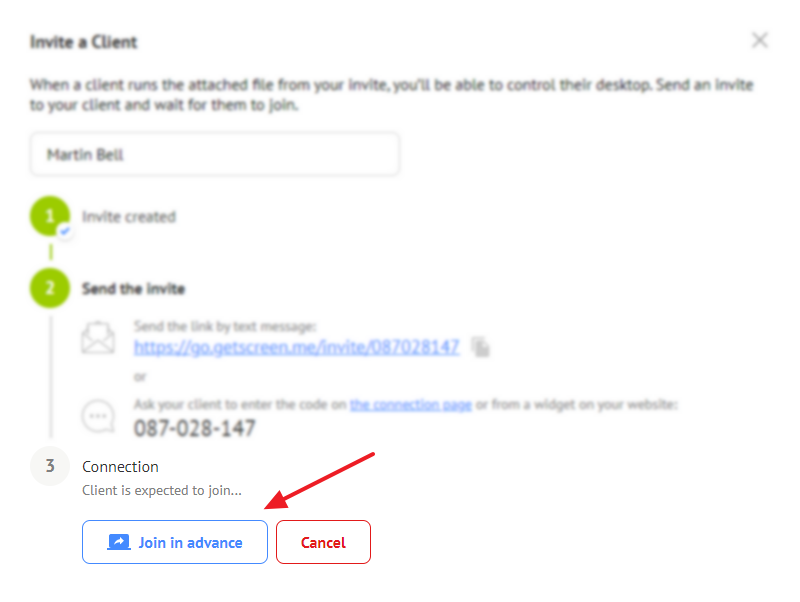
If the process takes too long, you can set up the integration with Telegram to be notified when the client launches the file.
Connection
The connection is made in a new browser tab. There is no need to install anything. You get access to the client's desktop image, mouse, keyboard and file system.

Find out more about connection features in the Connection help.
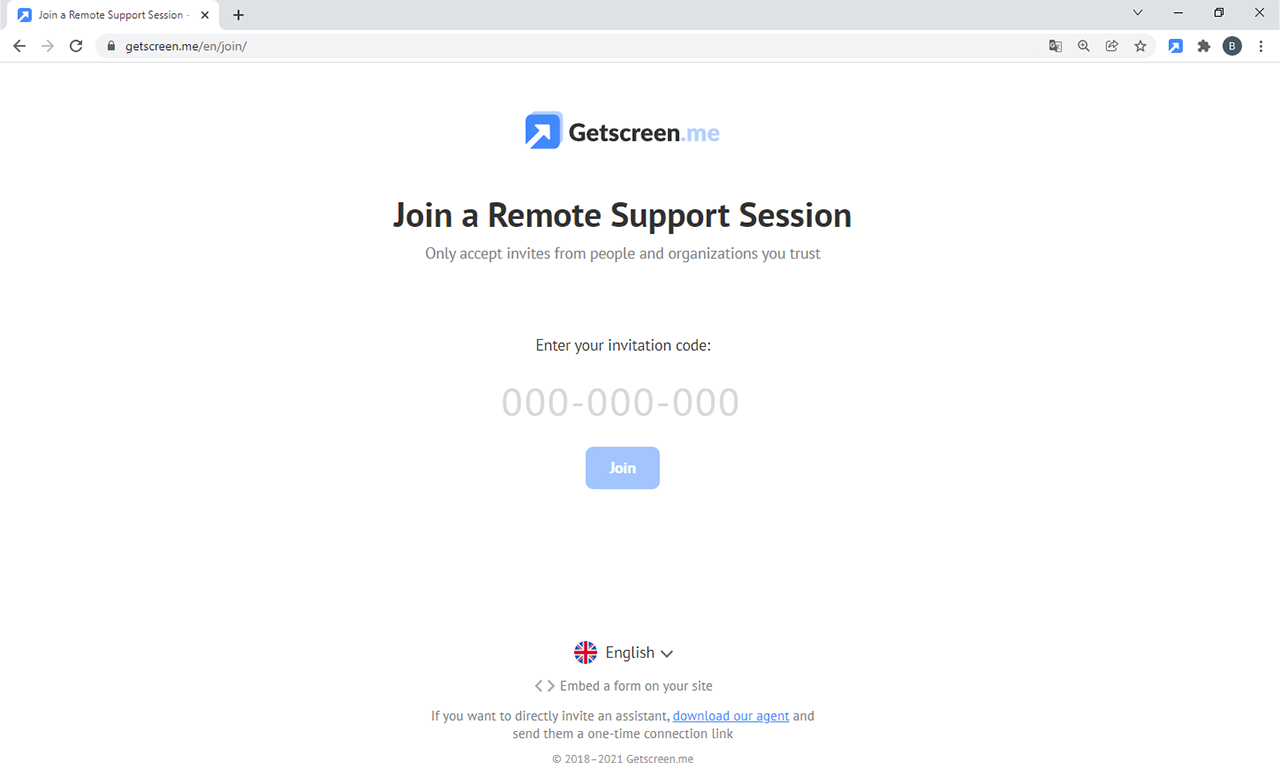
Invitation by code
If you communicate with the client via a phone, it is more convenient to tell them an invitation code number rather than a link. The client should enter the code on the joining by invitation page.
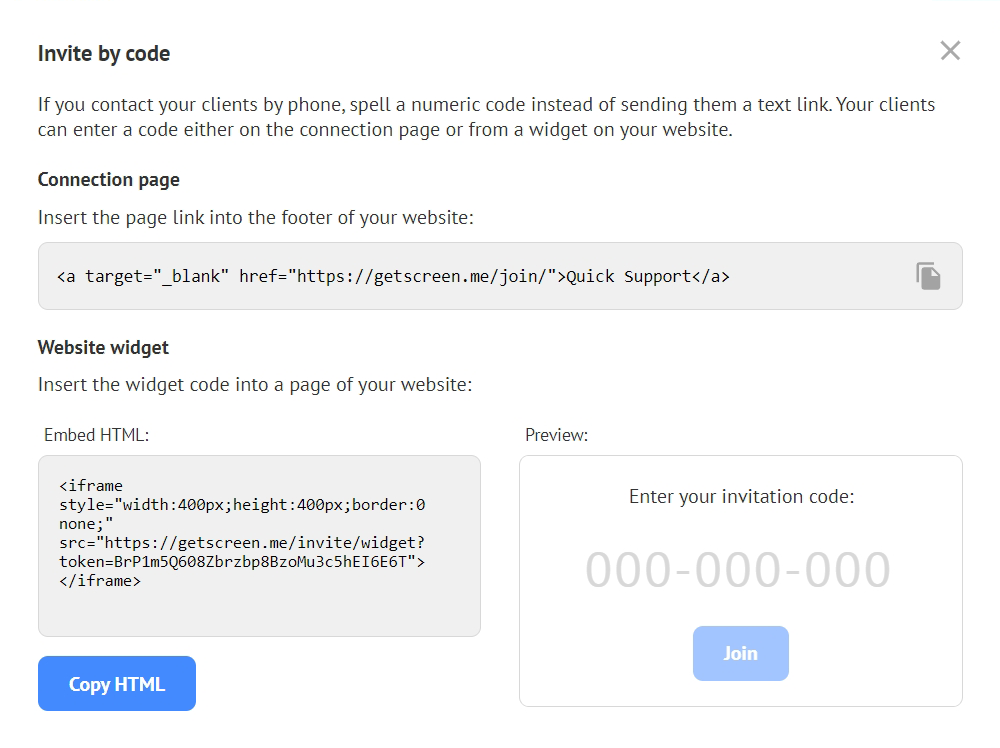
You can also apply the form for entering the code on your website. To do this, use the widget HTML code.

Permanent access
Set up permanent access to be able to connect to your clients on a permanent basis. To do this, you will need a website account.
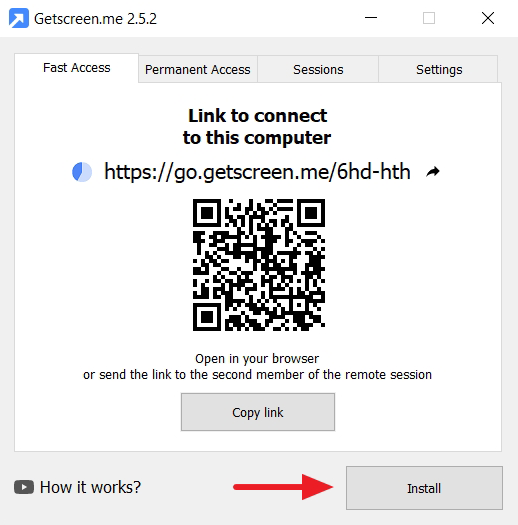
Agent installation
First, download and install the agent program on the client's computer. Windows, macOS, Linux and Android versions are available.
After the installation, the program automatically runs at system startup. This can be changed in the settings.
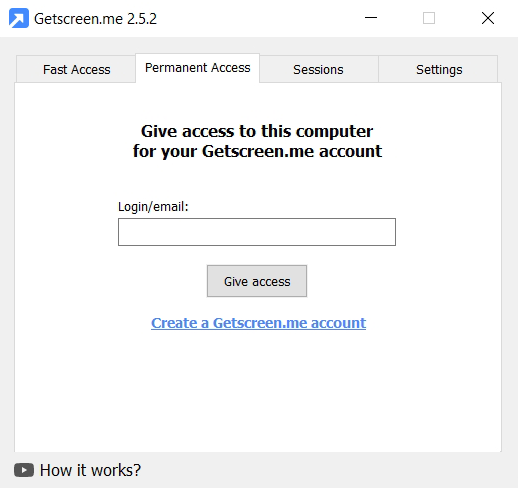
Binding to an account
Now the client's computer should be bound to your account. Specify your login and allow access in the "Permanent access" tab. After that, you can find the computer in your personal account.
Personal account
Click Connect to connect to the client's computer from your personal account.

The personal account also features extended functions for computer management, such as:
- access control;
- file manager;
- system data;
- auto login;
- connection history.
You can add multiple computers to your personal account. Find out the details in the How to add multiple desktops section.
If you have any ideas, feel free to share them on the suggestions page, or contact us or at info@getscreen.me