What is CNAME and how to set it up
 Setting up CNAME allows using your own domain for creating connection and invitation links with the help of the appropriate record in your domain's DNS server. This feature significantly increases the loyalty of your customers and is a must-have for medium and large businesses.
To enable it, configure the settings on the DNS server of your domain and in your personal account.
Configuring on the DNS provider side
In this article, we will consider the setup using the popular Cloudflare service as an example.
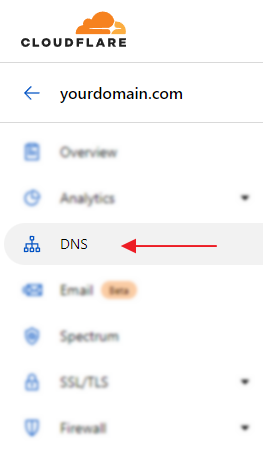
Log in to your account and go to the DNS section.
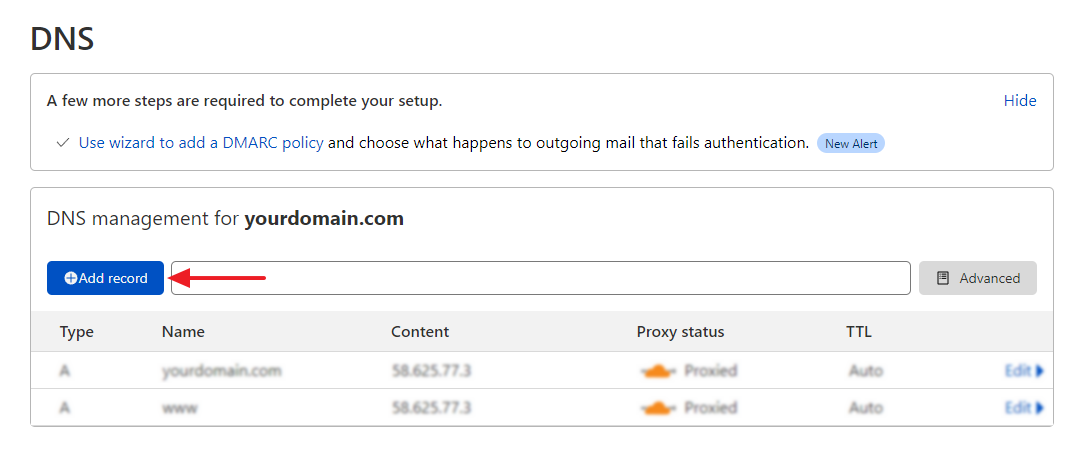
Click Add record.
Set the record parameters and click Save.
| Parameter | Value |
|---|---|
Type | CNAME |
Name | support (you can specify any other name, it is used as a subdomain the page of connecting via the code is opened at) |
Target | go.getscreen.me |
Proxy us | DNS Only |
TTL | Auto |

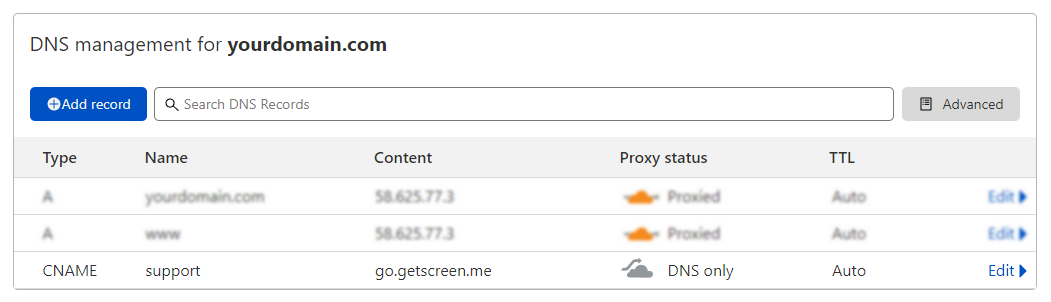
A new record appears in the DNS list:
Configuring in the personal account
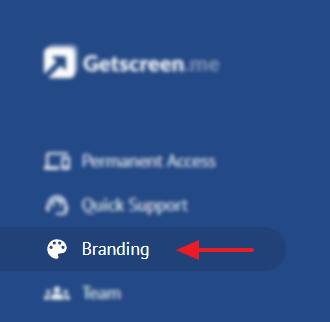
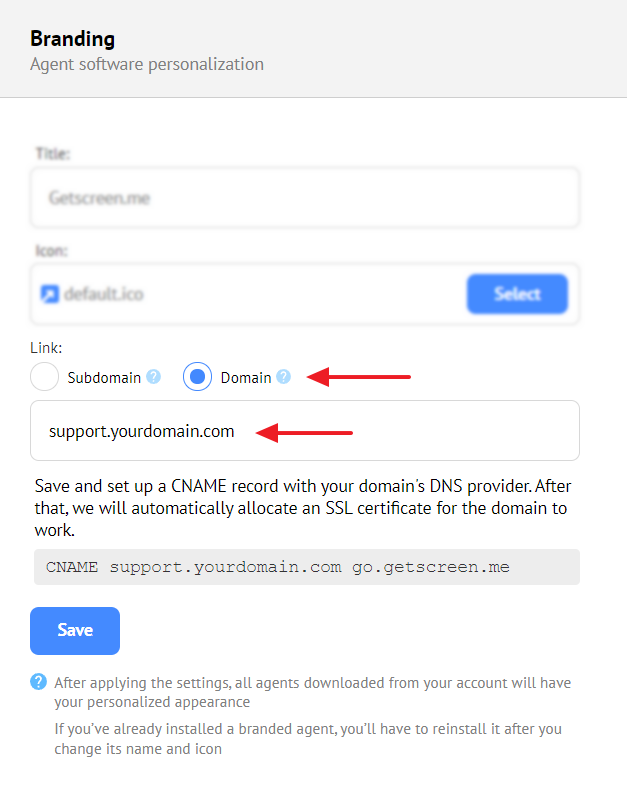
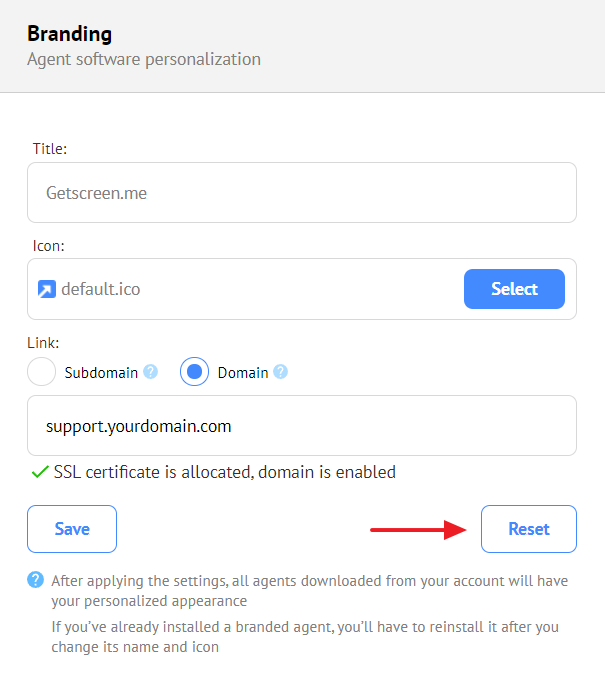
Log in to the website and go to the Branding section.
Switch to Domain, specify the address you have configured in Cloudflare and click Save.
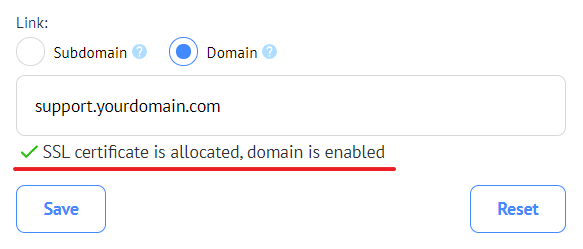
If the setup is successful, you will see the corresponding message stating that the SSL certificate for your subdomain is allocated and ready for use:
Info
The SSL certificate is allocated in the free Let's Encrypt certification center and renewed automatically.
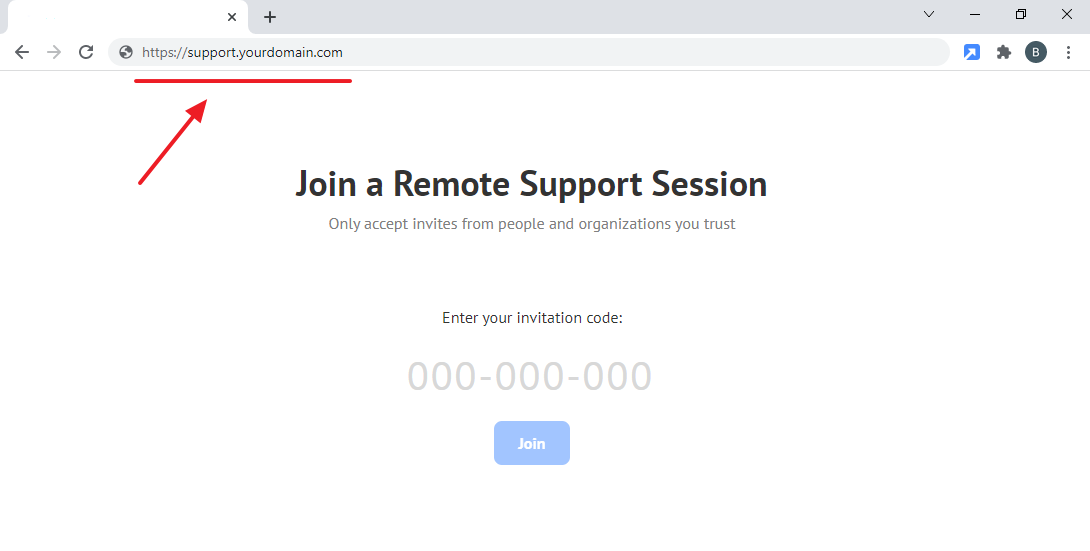
After configuring the settings, connection and invitation links are replaced:
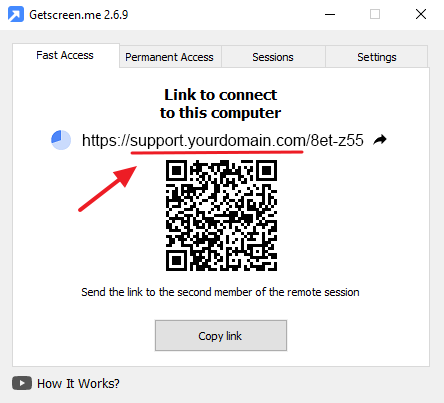
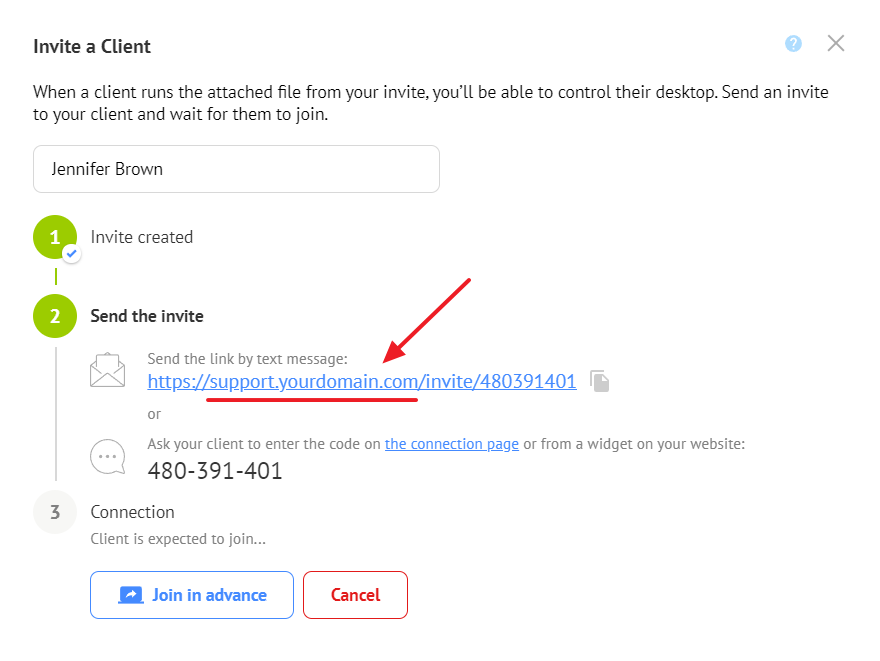
The page of connection via a code is opened at the URL you have specified.
Advice
Also, we recommend uploading your logo and set your company name on the branding page. Find the details in the article Why branding is so important.
Disabling a personal domain
To disable or replace a personal domain, go back to the Branding section and click Reset.
If you have any ideas, feel free to share them on the suggestions page, or contact us or at [email protected]